
What poses should I do for stretching and loosening them?

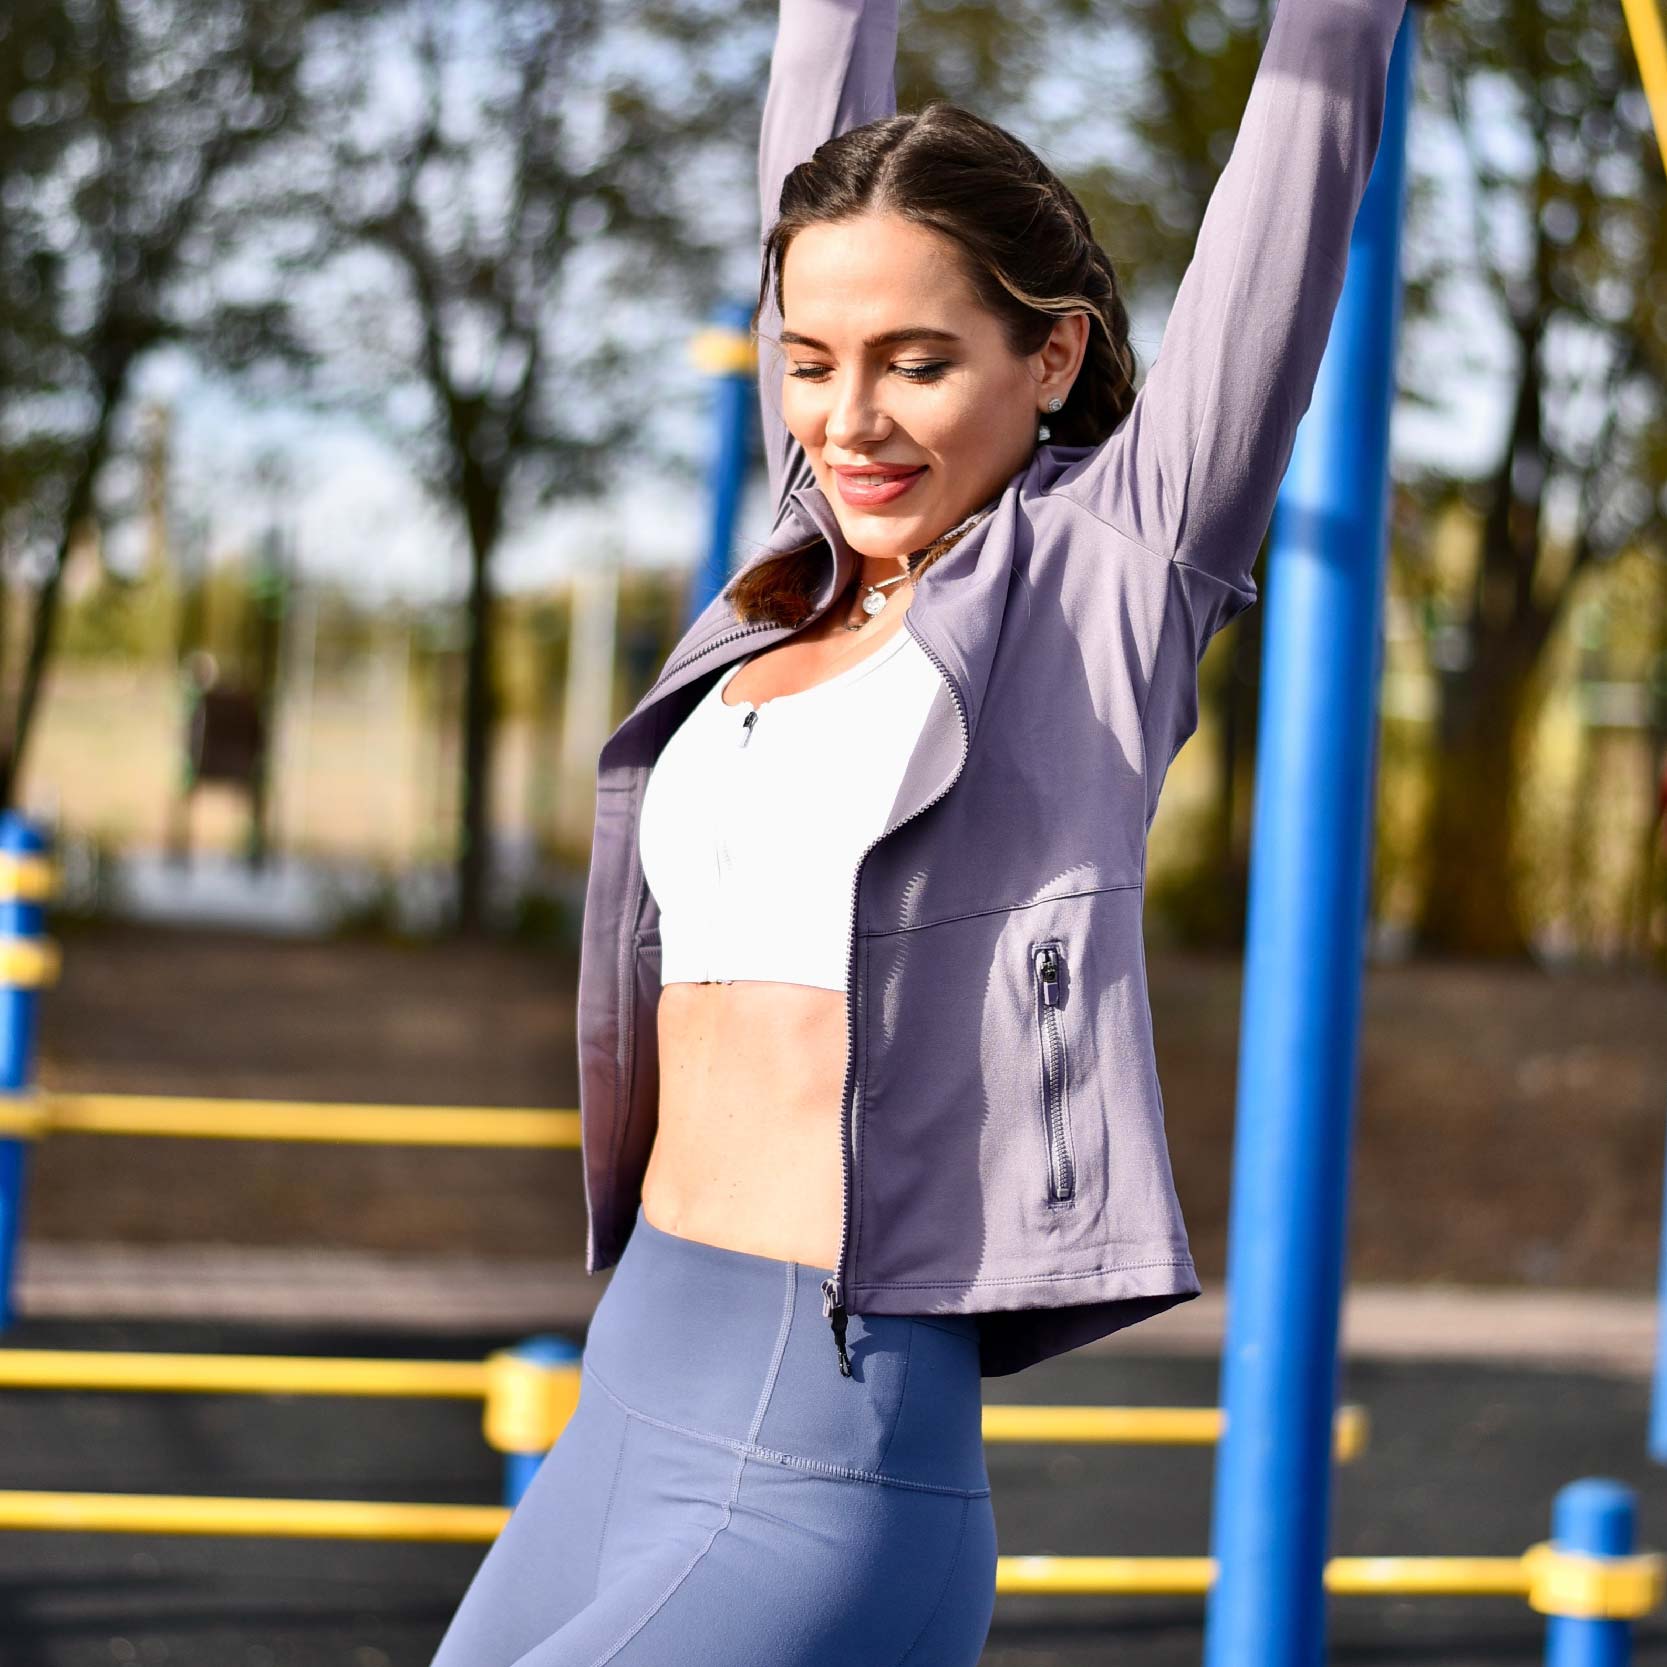
MWe can agree with most of you that yoga is a great exercise that stimulates your mind, gives you a good stretch, and doesn't take up too much of your time. You also sleep better and have a stress-free life.
However, sometimes, the common practice of yoga over time can leave you with too tight and strained muscles, which makes it difficult for you to perform movements or poses.
Let's look into these poses and tips that can significantly help you.
Yoga poses for stretching and loosening leg muscles.
Get ready to take advantage of these incredible yoga poses for thicker legs to include in your daily routine.
1. Downward-facing dog pose
The pose stretches the calf muscles and ankle joints and keeps these areas healthy and flexible. It is, therefore, suitable for lengthening the muscles that run from the hips to the bottom of your foot.
Follow these steps to perform the downward-facing dog pose.
a. Begin with all fours on the floor.
b. Raise your hips up and back, forming an inverted V shape with your body, with your heels touching the floor and your toes pointing upward. Your knees should also be bent, including a right angle between your upper body and legs.
c. Hold the pose for about sixty seconds and then relax for about thirty seconds before taking the upward-facing dog pose from where you left off from it in Step 1a above and repeat another cycle of poses for 50 seconds each.
d. Once you feel that the muscles in your legs are loosening, take a short stretch break to let your body cool down and then start again. End the sequence with another downward dog pose.

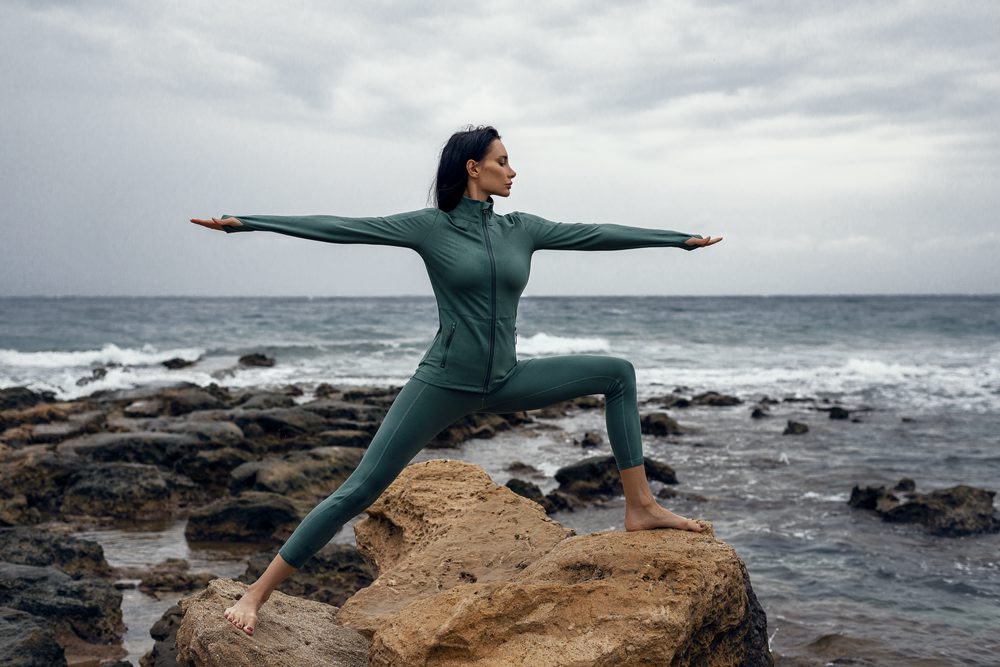
2. Warrior II pose
If you want to lengthen and tone your leg muscles, the warrior II pose is a great way to go about it. This pose will also firm your thighs and stretch your hips.
Follow these steps to perform the warrior II pose:
a. Begin by standing in the mountain pose.
b. Step your legs about three feet apart and turn your left foot so that it faces to the side with your toes pointing outward at a forty-five-degree angle from the center of the room. Your right foot should be pointing straight forward with its heel on the floor while keeping the weight on both legs evenly.
c. Then raise your arms off the sides to shoulder level and bend them, so they are parallel to the floor or a little above. Then stretch your arms forward and lift your torso until it is upright.
d. Hold this position for about sixty seconds and then relax for thirty seconds before repeating the exercise but with the left foot pointing outward instead to form an L shape with your body.
e. Once you feel that the muscles in your legs are loosening, take a short stretch break to let your body cool down and start again. End the sequence with another warrior II pose.
3. Tree pose
The tree pose is challenging as it requires you to be very careful. However, if you're serious about doing an excellent job at loosening your inner thigh muscles, this exercise will help you achieve your goal.
The tree pose works wonders for strengthening and lengthening the thighs, groin, and hips, thereby helping to tone them.
Do this:
a. Tuck your left foot behind your right leg and raise it, so it rests outside your right leg.
b. It's best to rest your left foot on the floor behind you or against the lower part of your back.
c. Once you have made sure that both your feet are in place, raise both arms at shoulder level with fingers spread wide or pointing to the ceiling and palms turned down until they're parallel to one another.
d. Keep moving your trunk upward and away from the floor or ground until it is perpendicular to the floor and is about three inches off it.
e. Hold this position for as long as possible before lowering it to the ground slowly and carefully, taking care not to hurt yourself in the process.
f. End with a tree pose and then take an extended break before doing another exercise.

4. Standing forward bend pose
The standing forward bend pose stretches your hamstrings, calves, and inner thighs, helping ton them too.
You can do the standing forward bend pose or supta padangustasana in a few ways, and the picture above shows one of the variations.
Do this:
a. Begin by standing in a mountain pose with the arms folded across your chest or at your sides.
b. Then move into a forward bend by slowly lowering your upper torso and bending forward until it is parallel to the floor or ground. Take time on each phase of the movement to avoid straining yourself unnecessarily. Enjoy the exercise while getting all its benefits at once.
c. Once your torso has touched the floor or ground, hold the position for as long as possible.
d.After a while, you'll notice that your leg muscles are beginning to loosen up and feel more flexible.
e. It is advisable to take enough rest time in between when doing the standing forward bend pose so that your body also gets a chance to rest.
Otherwise, you might feel tense and painful instead of relaxed and peaceful later.

Source: photo from online
5. Bridge pose
The backend bend pose is good for toning your thighs as well as other muscles of the legs. It also stretches and energizes them.
a. Begin by lying on your back with arms at your sides and palms facing upwards. Bend your knees with the feet' soles resting on the floor.
b. Lift both legs to form a right angle between them and your upper body. Keep both arms parallel to the floor or ground, palms still facing upwards with fingers spread wide or pointing to the ceiling of the room or any other high point in it as you can use it to measure how far you're stretching yourself in doing this exercise.
c. Hold for as long as you can before slowly lowering the legs back to the floor or ground.

Source: photo from online
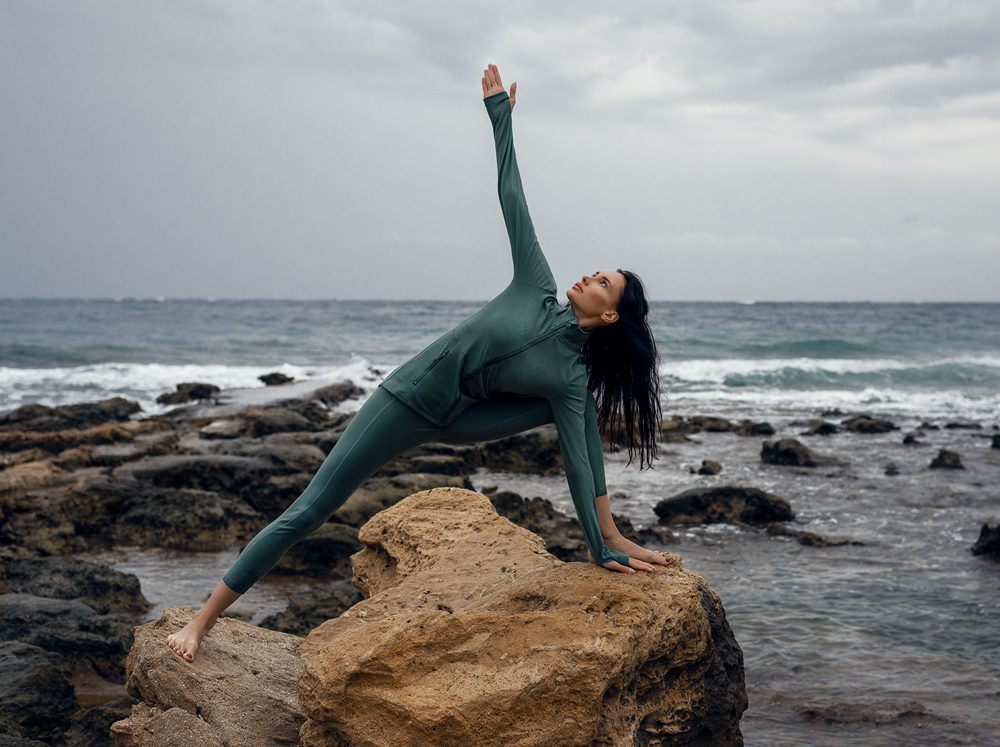
6. Triangle pose
As the name suggests, the stretch pose stretches your lower back and the hip flexors. It also works on the hamstrings, hips, and inner thighs and is a good workout for all these muscles.
a. Start with a warrior II pose, as you did in the first section. Now, instead of bringing your left leg up toward the ceiling and pushing your torso forward, push your right leg up and turn it to the side till its toes point to the sky or any other high point in the room. Make sure to keep both hands flat on the floor as you do this and your back straight throughout.
b. Continue turning this way for about thirty seconds.
7. Half-moon pose
The half moon pose, or ardha chandrasana, is very effective for toning the thighs and hips and other lower body muscles such as the hamstrings and calves. It also has several other benefits, such as energizing your body and helping you feel refreshed.
a. Start by standing in a mountain pose with arms folded across your chest or at your sides.
b. Then move into the half moon pose by raising your right leg and resting it flat on the floor about five inches from the back of your left foot. Try to keep both feet parallel to one another and flat on the ground at all times.
c. Hold for as long as you can before moving your right leg back down to meet your left foot and doing another half moon pose with the other leg. End with a half moon pose and then break for a while.
d. With each cycle, you'll be able to do this pose for longer periods of time more easily than when you first started out on it.

8. Sugarcane pose
The simple good stretch pose, or utthita parsvakonasana, is effortless and good for the thighs and other muscles of the legs and lower body.
a. While in half moon pose, turn your right toes up and stretch your right arm, so it's parallel to the floor or ground. Do this while tightening the muscles of your back and buttocks and those in your legs and thighs.
b. Gaze forward with your arms, twisting from the shoulder and holding your upper body straight. Hold for as long as you can before raising your right arm back to the left side.

9. Half wheel pose
The excellent stretch pose or Ardha chakrasana is well-known as a standing backbend because you can use it to stretch your hamstrings and lower back muscles. It's also a good pose for stretching your upper body and shoulders.
a. Start with your feet being as wide as the hips and knees. Now release your arms, letting them hang by your sides or loosely by your sides with palms facing downwards or to the floor.
b. You can do an arms-crossed yoga pose like a cobra pose while doing this, but it's optional.
c. Start bending forward at your hips and lower back until your knees are on the ground. Come back up to a standing position again.

Source: photo from online
10. Waterfall pose
The recovery exercise will come in handy in the long run. It will help calm your body and mind so that you can concentrate more on what you're doing and less on how tired you feel. The pose is good for cooling down your body and relieving all the tension it may have accumulated from all the strenuous poses above.
a. Start by lying down on a mat. Straighten your legs with the arms on the side.
b. Towards your chest, curve your knees as the feet' bottom point at the ceiling.

Source: photo from online
Top tips when doing yoga poses for leg muscles.
These hacks will help you get the most out of these exercises for the leg muscles in terms of effectiveness and ease.
1.Always engage in standing poses before doing seated ones. Moving from standing to sitting postures almost immediately will allow you to keep your blood flowing more effectively and get more benefits from them.
2. Ensure that when you do any backbend pose, your buttocks are up towards the ceiling or any other high point in your home or room to prevent strain on your lower back by holding it back when bending forward or raising it as well, for that matter.
3. Try walking in nature or on any cycle every day after doing your yoga poses for the legs and body. It will help to get more oxygen into the blood and help you sleep better and more effectively afterward in most cases.
4. Keep your abdominal region firm throughout these exercises because it will help increase their overall effectiveness considerably and prevent injury from occurring on a regular basis if you do them regularly and correctly.
5. Use your arms and hands to assist in the movements you're making slightly more than you would if you did them out of sheer necessity because all the stretches you'll be doing with them will do more for your muscles than simply moving by yourself.
6. Always use props if necessary when doing any of these exercises because they'll help make things a lot easier for you and give them even more value than they initially may have. If you don't have enough to get on top of a chair, try putting one barbell between two chairs or even two coffee tables so that your legs can be supported when doing any lunging poses and bending poses, for instance.

Conclusion
Yoga poses for the legs increase flexibility and ease muscle tension. They'll also help tone them up, especially if you've been sedentary for a long time, and let your muscles atrophy through lack of use. Legs can get thicker and look good if properly exercised and maintained by a person who does them regularly.